


Natural Makeup Techniques: 10 Ways To Achieve The Look
-

- March 23, 2022
Create luminous skin, luscious brows, and more with natural makeup looks
The less makeup the better. There’s nothing wrong with a glam look, but you can’t wear it to school or work every day. Your face will appear more beautiful with natural-looking makeup, rather than covering up flaws.
As natural makeup look has become ever more popular and skincare has become paramount, many of us desire to look just like ourselves but more perfect, whether we are going to work, going shopping, or just going out.
Simple, but effective, it brings out the best in your eyes, lips, and skin. Having a barely-there face only requires a couple of quality products in order to look good.
No matter what foundation you choose or which cream blush you switch to, creating the no-makeup makeup look requires both the best products and the most effective techniques, all combined, in as little time as possible.
Natural makeup looks are here to stay due to their ease of use, less time investment, and simplicity. Learn how to achieve a natural makeup look here.
The best way to create natural makeup looks
How to achieve the best natural makeup look, sometimes referred to as the barefaced look, means finding the right combination of fresh skin with a natural glow and enticing eyebrows.
Although the no-makeup look may appear to be simple, it does require a good bit of makeup application, though there are some you can omit.
Taking natural makeup to the next level is as simple as following these quick tips from our best makeup artist – with the option to adjust the steps to fit your style.
1. Exfoliate

The first step to the no-makeup makeup look is to exfoliate your skin. For the best results, you should exfoliate before you shower, as it will be easier for your skin to absorb moisture and other products post-exfoliation.
2. Tone
Tone down your skin with a natural, lightweight face oil or moisturizer. This can also be done after you shower but if you do it before, you might want to skip the next three steps which involve foundation and powder. If your natural skin tends to get oily in humid weather, choose an oil-free toner instead of a moisturizer for this step.
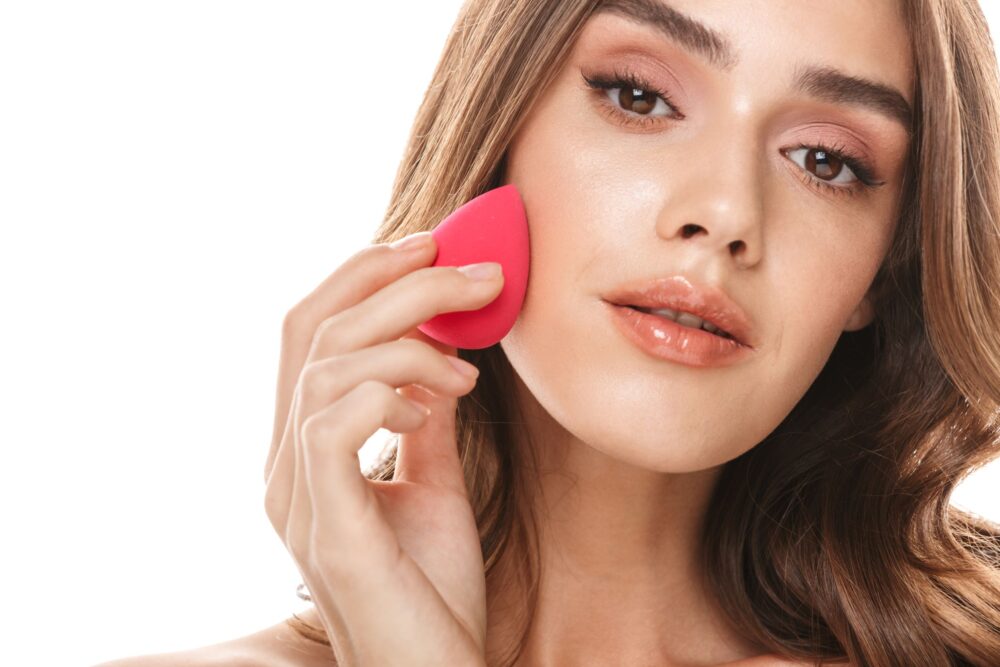
3. Apply Foundation & Concealer
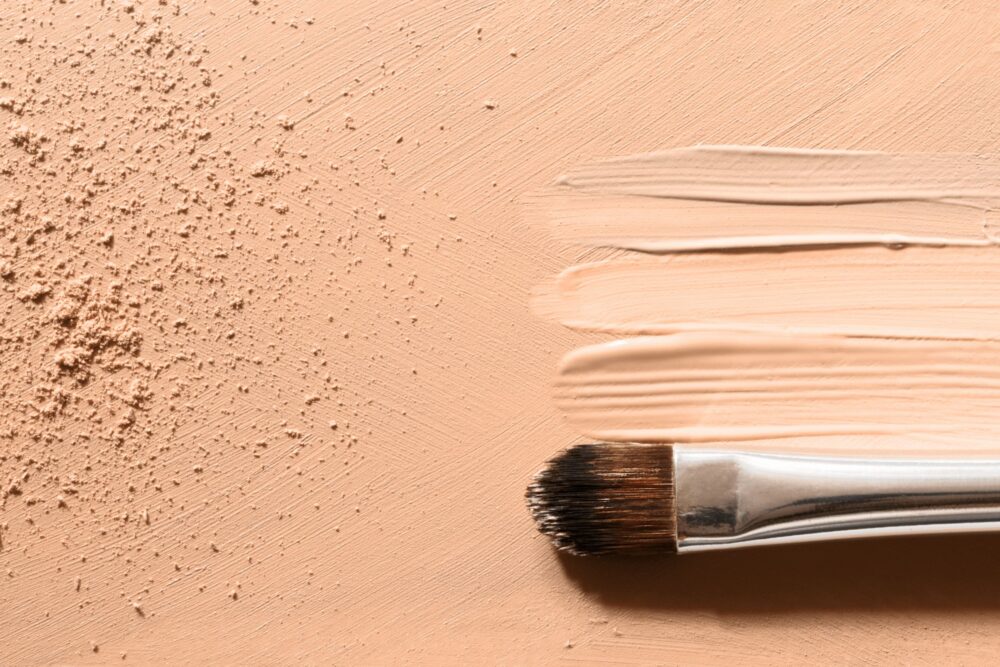
Apply a matte, medium-coverage foundation — your typical BB or CC cream will work just fine. This step is optional if you’re after that dewy, fresh-faced look.
4. Set it with Powder
If you want to get rid of any shine or give your skin a more natural finish, set it with translucent powder. You don’t have to use too much — a light dusting will do.
5. Highlight the Cheekbones & Cupid’s Bow
Now that we’ve toned down the skin, we can bring back some life with a highlight on the cheekbones and cupid’s bow.
Choose a colour that matches your glowing skin tone for best results — if you have fair, flawless skin, stick to pinks and beige tones; for olive tones, choose golden shades; for darker skin tones, go for peach and brown hues; and for darker brown skins, go for bronze shades lighter or golds that lean toward orangey tones.
Keep in mind that no matter how dark your makeup is going to be overall, always remember to highlight the areas where light naturally hits — the tops of the cheekbones and the cupid’s bow.
6. Line the Eyes
For a natural-looking makeup look, you should line the eyes with coloured eyeliner — preferably brown or black for depth and definition. If you’re not comfortable lining your eyes on your own, opt for an eyeliner that already has a coloured tip on it — it will be easier to use and will still give your eyes some definition.
Tip: Apply concealer under the eyes to hide dark circles before applying eyeliner, if needed.
7. Line & Fill in the Brows

To balance out the eyeliner, fill in your eyebrows with a brow pencil or powder — this step is also optional but it will help give you more of a natural look (think: no drawn-on brows).
If you want to get rid of any stray hairs that might be poking through, use an eyebrow razor instead of tweezers — they’re gentler on skin and hair than tweezers are.
Tip: For best results, apply brow gel after filling in your eyebrows so you can avoid getting clumps on your brows.
8. Curl Your Lashes
To give your eyes a more dramatic look, curl your lashes before applying mascara. If you’re not comfortable with curling your own lashes, ask someone to do it for you — it’s easier than you think.
Tip: To get the most natural-looking curl out of your lashes, hold the curler in place for a few seconds before releasing and moving on to the next upper lash line, rather than quickly placing and removing the curler from the same spot over and over again.
9. Apply Mascara & False Eyelashes (Optional)
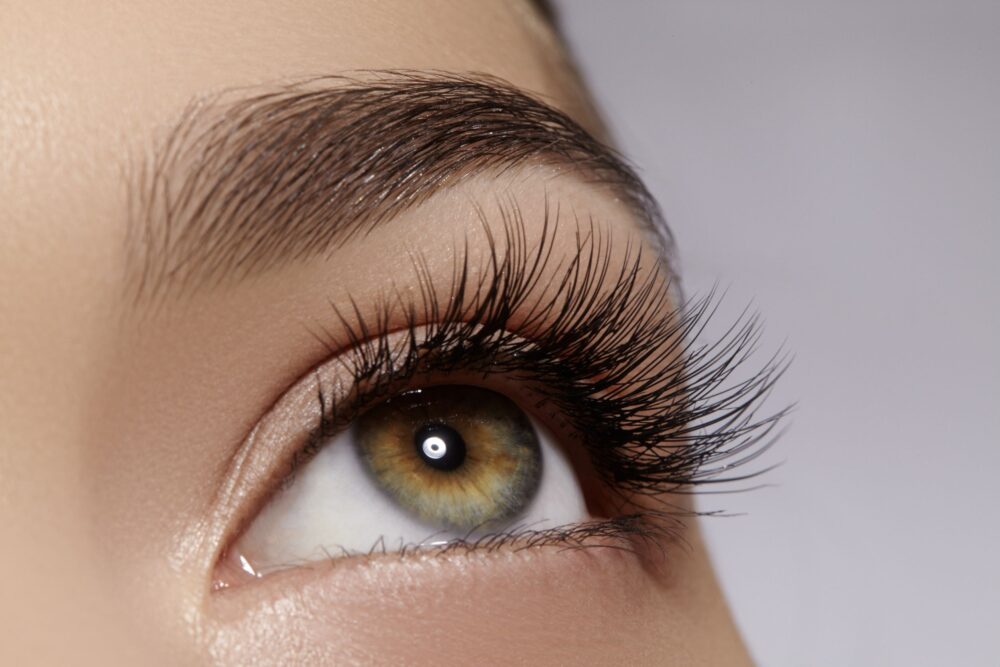
This is where you can either apply mascara or false eyelashes, depending on how dramatic of a look you’re going for — false eyelashes are an easy way to give yourself more volume and length without having to apply several coats of brown mascara.
Tip: If you want even more volume without having to use false eyelashes, go back through with a volumizing mascara after applying your regular mascara but before applying falsies — that way you’ll give yourself, even more, volume and length.
10. Add natural lip colour
To finish off your makeup look, apply a light layer of lipstick and/or lip balm — this will give your lips some definition while making them look fuller.
If you’re not sure what colour to pick, consider the colours of your eye shadows and use a similar colour on your lips.
Tip: If you want to keep the rest of your face neutral but want to add some colour to your lips, try using a coloured lip liner underneath a soft, natural-look lipstick.